Camera Mast Project
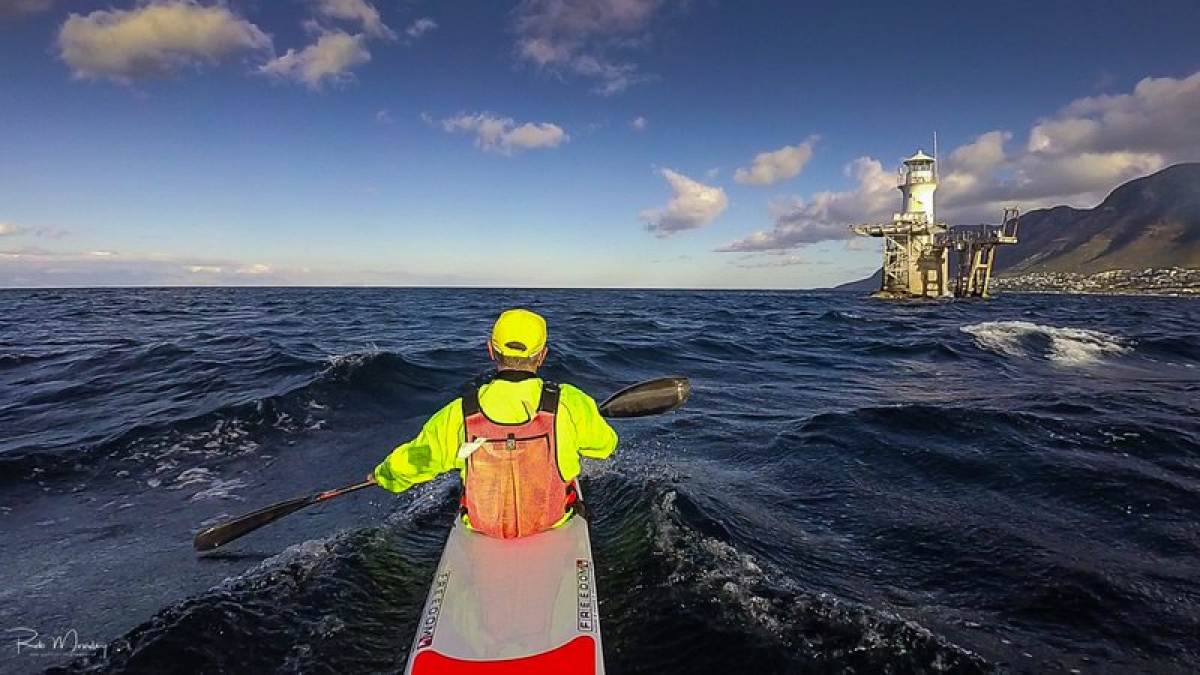 A better perspective? The mast Point of View!
No more head-mount videos please! Well, at least let's mix it up a little... Head mount point of view is all very well, but I used to have a rear-deck mounted camera mast which gave a sensational perspective. But having switched boats to the Swordfish S, the mast base wasn't compatible and I've been planning for ages to build a new one. Here it is - the Mousley camera mast hack.
The Plan
My last camera mast was a beast: built with a section of carbon fibre windsurfer mast, it had a beefy base made from fibreglass and weighed nearly a kilo. I wanted something lighter.
I had tried to find something commercial, but the issue with the GoPro-type masts that I could find, was that none of them had a base that would connect firmly with the surfski deck.
I drew up some requirements:
- It should be lighter than my current mast.
- The solution should be adaptable to multiple boats/positions on the boat.
- The mast should allow for the camera to be set at different heights.
In other words, I wanted the mast to be as physically stiff as possible when set up, but as flexible as possible in terms of usage and adjustment too.
I visited a supplier (the very friendly Allied Fibreglass company here in Cape Town) and explained both my goals and my complete ignorance of fibreglass fabrication.
I left with simple instructions and small quantities of glass fibre mat, resin, hardener, gelcoat, some paper cups, a plastic teaspoon measure and some wooden mixing spatulas (you can tell that these folks are used to dealing with novices!).
In addition, I went to my local paddle manufacturer and begged a length of carbon paddle shaft from a broken paddle and I bought the shaft piece from a length lock (the narrower section of shaft that joins the two halves of a paddle together).
Construction
(Warning: the real purpose of this article is NOT to show what a craftsman I am, but rather to show that any idiot can make one of these things and that even if the end result is crude in the extreme, it will still work!)
First off I set out to mould the mast base to the deck.
In preparation, I cut out half a dozen rectangular shaped pieces of the cloth.
Moulding can be done in a number of ways. My buddy (and true craftsman) Dale suggested using something called a “release agent” which you paint onto the piece from which you're mouling. When it dries it becomes a thin layer of rubber-like substance – but I didn’t have any and the fibreglass folks suggested using clingfilm. I wrapped several layers of clingfilm around the hull of the ski.
Mix up the resin and hardener (roughly 1 teaspoon to half a cup of resin) and paint a layer onto the clingfilm. Then wait until it’s tacky.
Tackiness achieved, I laid a piece of the cloth onto the resin and painted over it with the resin, making sure that the cloth was fully soaked. Then I laid the other layers on, painting each one on (immediately – no need to wait between layers).
At the same time I had also prepared a flat piece of plywood in the same way, wrapping it with clingfilm. And in the same way, I painted it with resin, waiting for tackiness and then laid on 6 layers of cloth, painting and soaking each layer in turn.
By the time I’d finished, the remnants of the resin in the paper cup had thickened and the pieces were beginning to cure.
Within an hour, both pieces of fibreglass had hardened and while they were still a little sticky, they could be handled. I left them overnight to cure completely before tackling the next step.
Assembly
By the next morning I had:
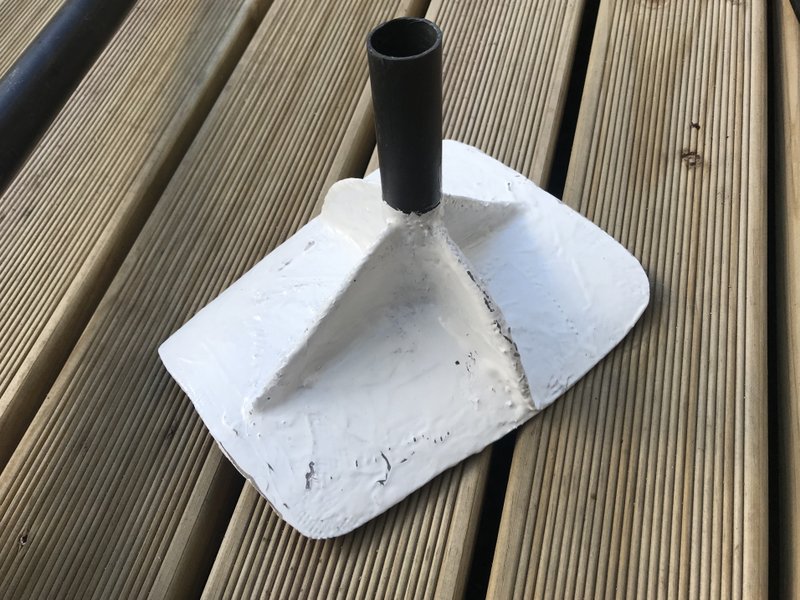
- 1 x base, moulded to the shape of the surfski’s deck.
- 1 x flat sheet of fibreglass from which to make triangular fillets to support the mast.
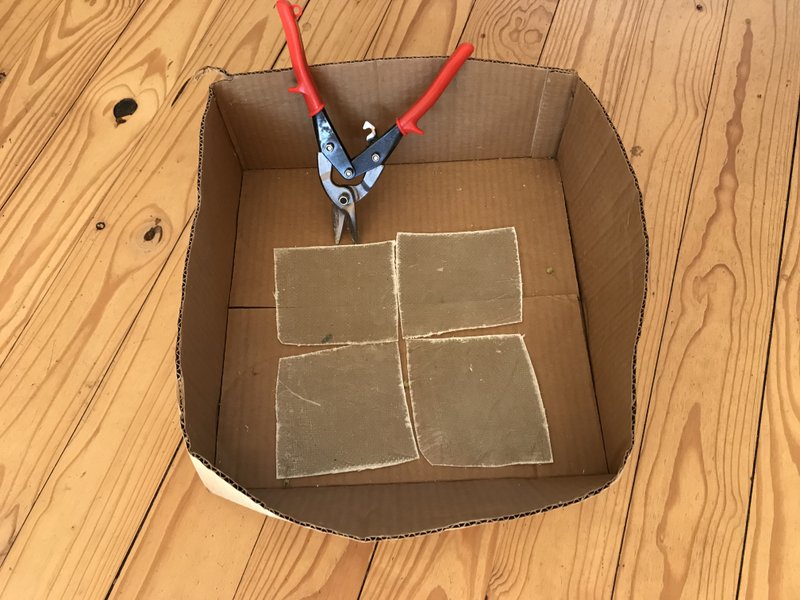
My crude fibreglass sheet, chopped up with a pair of tin-snips.
First of all I tidied up the base by trimming it with a pair of tin-snips and smoothing it with a file.
Then I taped the base in place on the surfski’s deck and clamped the mast upright on the base, using a level to make sure that the boat was horizontal and that the mast was vertical.
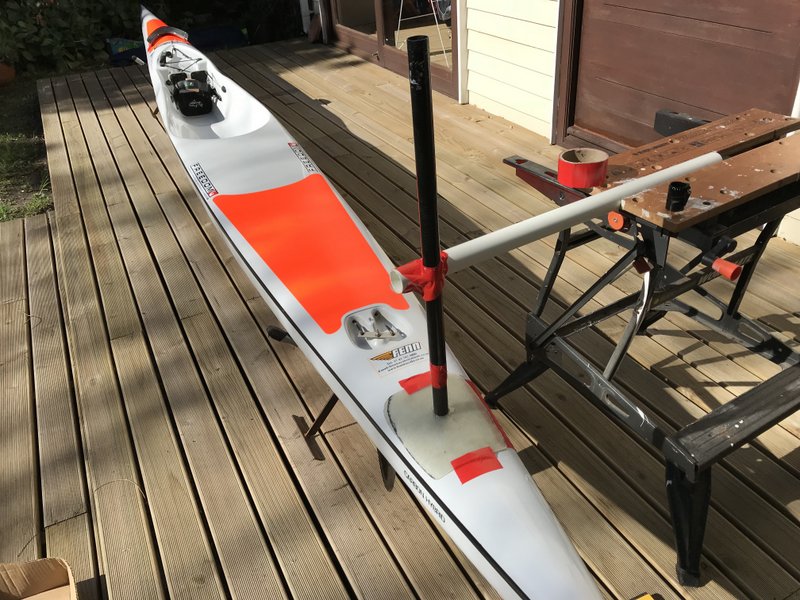
Mast in place, glued to the base
Note that mast comprises two parts: the long, detachable shaft onto which the camera is mounted and the shorter, narrower section that attaches to the base.
I glued the bottom section of mast to the baseplate.
That now being stable and solid, I cut out triangular pieces from the flat sheet to make the supports, and glued them in place. By now the mast was complete – but not structurally strong.
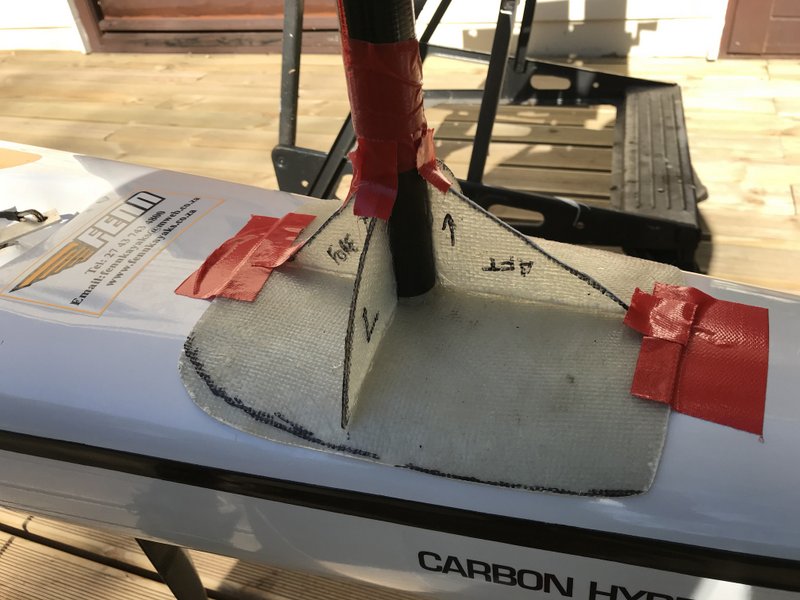
Fillets glued in place
To reinforce the supports, I then cut smaller pieces of cloth and prepared a new batch of resin/hardener.
I painted the resin onto the base and its supports, again waited for tackiness and then applied multiple layers of cloth, again painting over each one and making sure that they were well soaked before going onto the next one.
This was a really messy process; bits of glass fibre would come off and stick to the brush or to my hands. Key to overcoming this was to have some waste cloths on which to wipe hands and brush. But in the end the job although not pretty, at least looked reasonable. And with several layers of cloth running in different directions over each support, I’m confident that it’s strong.
Having again waited for the assembly to cure, I finally went over it with a file to smooth the rough edges and painted on a layer of gelcoat.
The finished article - I should have smoothed before applying the gelcoat! Crude but serviceable.
So that’s that – I attach the mast to the base by sliding it on and securing it with a length of duct tape. The camera is attached with a standard GoPro handlebar mount.
Why make the base detachable? I’m going to make another base moulded to the foredeck so that I can take rear-facing footage, and I may build a third to go onto the aft deck just behind the cockpit…
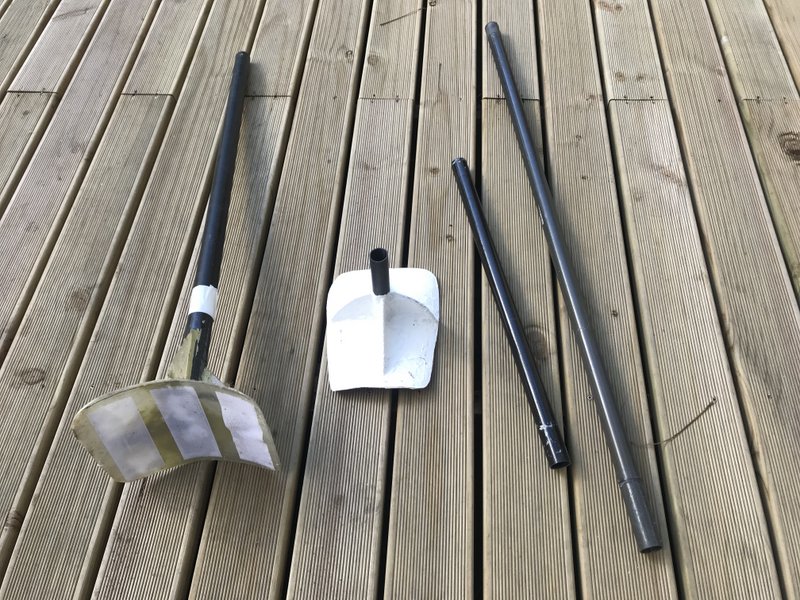
The old, heavy one-piece mast on the left; new, light (300g) mast with interchangeable shafts on the right
Challenges
Mounting a camera higher above the deck presents some challenges:
- As the ski tilts from side to side, the horizon tilts with it. But most of the time, the really interesting footage is when you’re on a run and the side to side motion is usually less…
- When the camera is mounted close to the deck, the lens is automatically washed quite frequently so that there isn’t a build-up of water droplets. Not so with the mast. But so far, going downwind, this hasn’t been much of a problem and for the future I have plans for running a thin pipe up the mast so that I can squirt water over the lens by squeezing a kayak pump in the cockpit… there’s always something!
- Does the mast affect the handling of the boat? The new mast complete with camera weighs in at 600g (just over 1lb). If you're a racing snake, you won't want this dangling off the back of the boat, but it really doesn't make much difference to me, nor does it appreciably affect the tippiness of the boat either.
Testing
A couple of days ago we had a gentle northwester and I tried the mast on a mellow Reverse Miller's Run...
I will get install some self-adhesive velcro to increase the stability of the base, but this time I simply used duct tape. I added a safety line in case the duct tape failed...
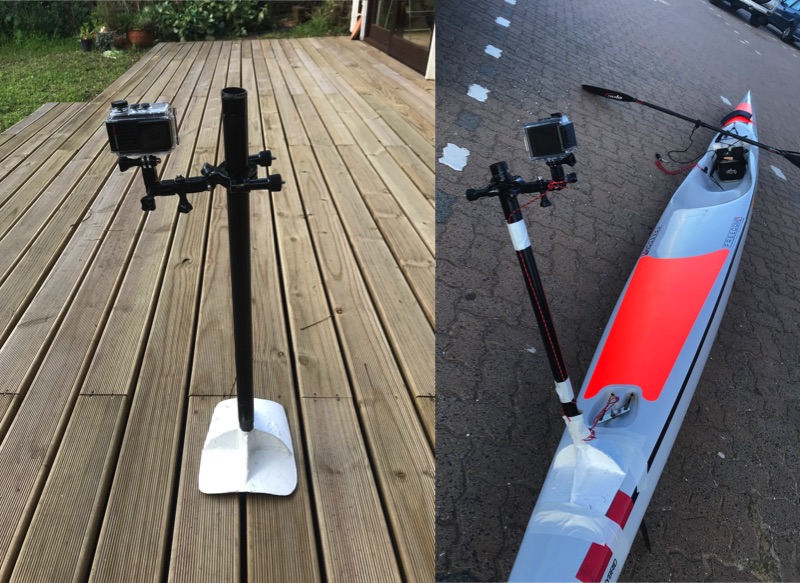
Ready to go!
And here's a short clip of the end result. Can't wait for a day when it's really cooking!
For more information
So... to reiterate: if I can do it, you can do it – go forth and build masts! It’s a fun way to add a different perspective to your paddling videos.
Here's just one of many sources of "how to" information: https://www.wikihow.com/Fiberglass